The most useful tool in our kitchen is the cast iron skillet. From fried chicken to shakshuka — it can get just about everything done. There’s a lot to be said when it comes to caring and cooking on cast iron pans though, especially when you’re camping!
First things first, cast iron pans are heavy. They’re made of solid iron for pete’s sake — and while it’s one of the reasons they last forever, it’s also an important thing to consider if you’re trekking, hiking or even canoeing. You might not want to be carrying all that weight.

For the rest of us, first thing you’ll need to do is get your hands on the pan. Many people will tell you they got theirs from their grandmothers and they’re somehow superior that way. Truth is, with a good ‘seasoning’ routine, even a brand new pan will provided the same cooking experience.
‘Seasoning’ doesn’t mean flavouring the pan, but rather refers to vegetable oil baked onto the iron at a high temperature. It creates the natural, easy-release properties cast iron is known for. The more you cook, the better it gets– hence why folks rave about their great-great-grand-papi’s skillet.
How do you season your new skillet?
- Hand wash your pan and dry immediately, even before first use.
- Rub it all over — even the bottom — with a light coat of vegetable oil. It’s important to use vegetable oil as it has the highest burn point.
- How much oil? Enough to give it a sheen, without being ‘sticky’.
- Heat your oven to 450 degrees and place your pan inside. Once the pan turns black, about 10 minutes, remove and cool.
- Your pan is now ready to cook on. After each use, wash by hand, dry immediately and thoroughly, and rub with a small amount of oil.
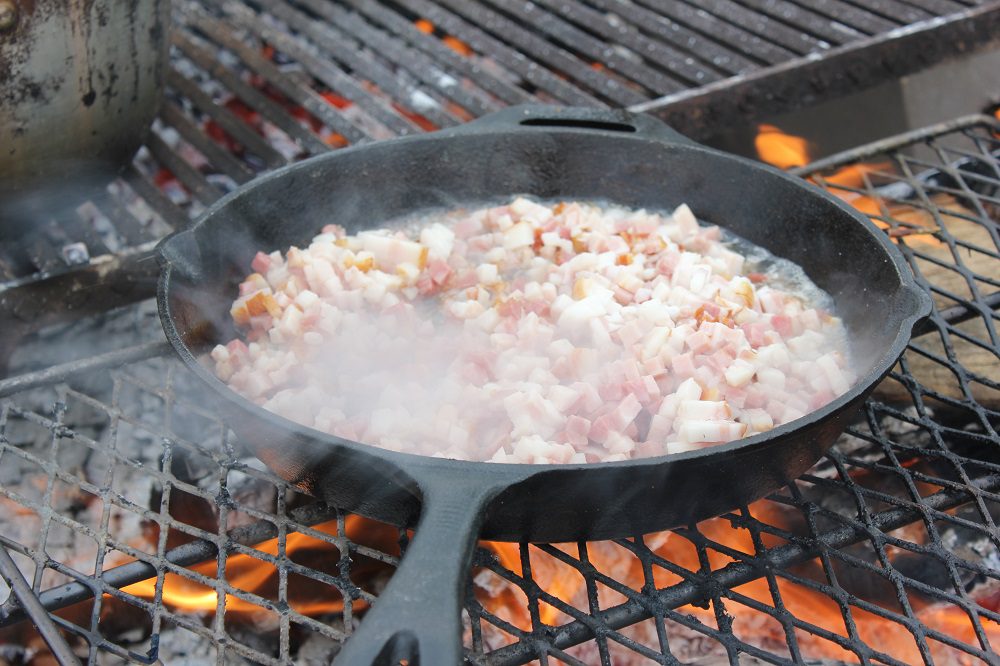
The main advantage of cast iron is that it has what’s called a very high “volumetric heat capacity”. That’s just a fancy way of saying that once it’s hot, it stays hot. That’s why it’s so perfect for searing steaks or frying bacon.
It doesn’t heat as evenly as you might think though. Iron is a pretty poor conductor when compared to say, aluminum. To heat cast iron evenly, place it over a burner and let it preheat for at least 10 minutes or so, rotating it every once in a while.
Once you’re done cooking, it’s time to get cleaning. To soap or not to soap… that is age old argument. We say don’t soap. However, if no soap is too scary, wash with mild soapy water and dry and oil immediately. Dishwashers, strong detergents and metal scouring pads are a big No-No with cast iron. They will ruin your pan super quick.
If you’re in the woods, the best way to clean your pan is with sand and ash.
Find sand or small gravel (a stream or river bed is the least likely to have organic matter in it). Boil some water. Smear a small amount of any leftover cooking grease on the pan, add wood ashes from the campfire, and mix in a few teaspoons of hot water until a thick cleaning solution results. This soapy mixture is harsh though, so be careful. Use a handful of sand or gravel as an abrasive to scrub the dishes clean, using a separate wash pot and rinse pot. That’s it! You’ve basically made homemade soap.
If we’ve said it before, we’ll say it again — DRY YOUR CAST IRON IMMEDIATELY. Without protective seasoning, iron can rust. You don’t want to encourage this.
While the rust isn’t the end of your pan, it is a headache. Should your pan rust, scour the rust, really put some muscle into it. Rinse, dry, and rub with a little vegetable oil to re-season.
Now that you’re an expert on cast iron and outdoor cooking, it’s time to get creative! Go beyond steak and start experimenting. You can make almost anything in a cast iron pan!